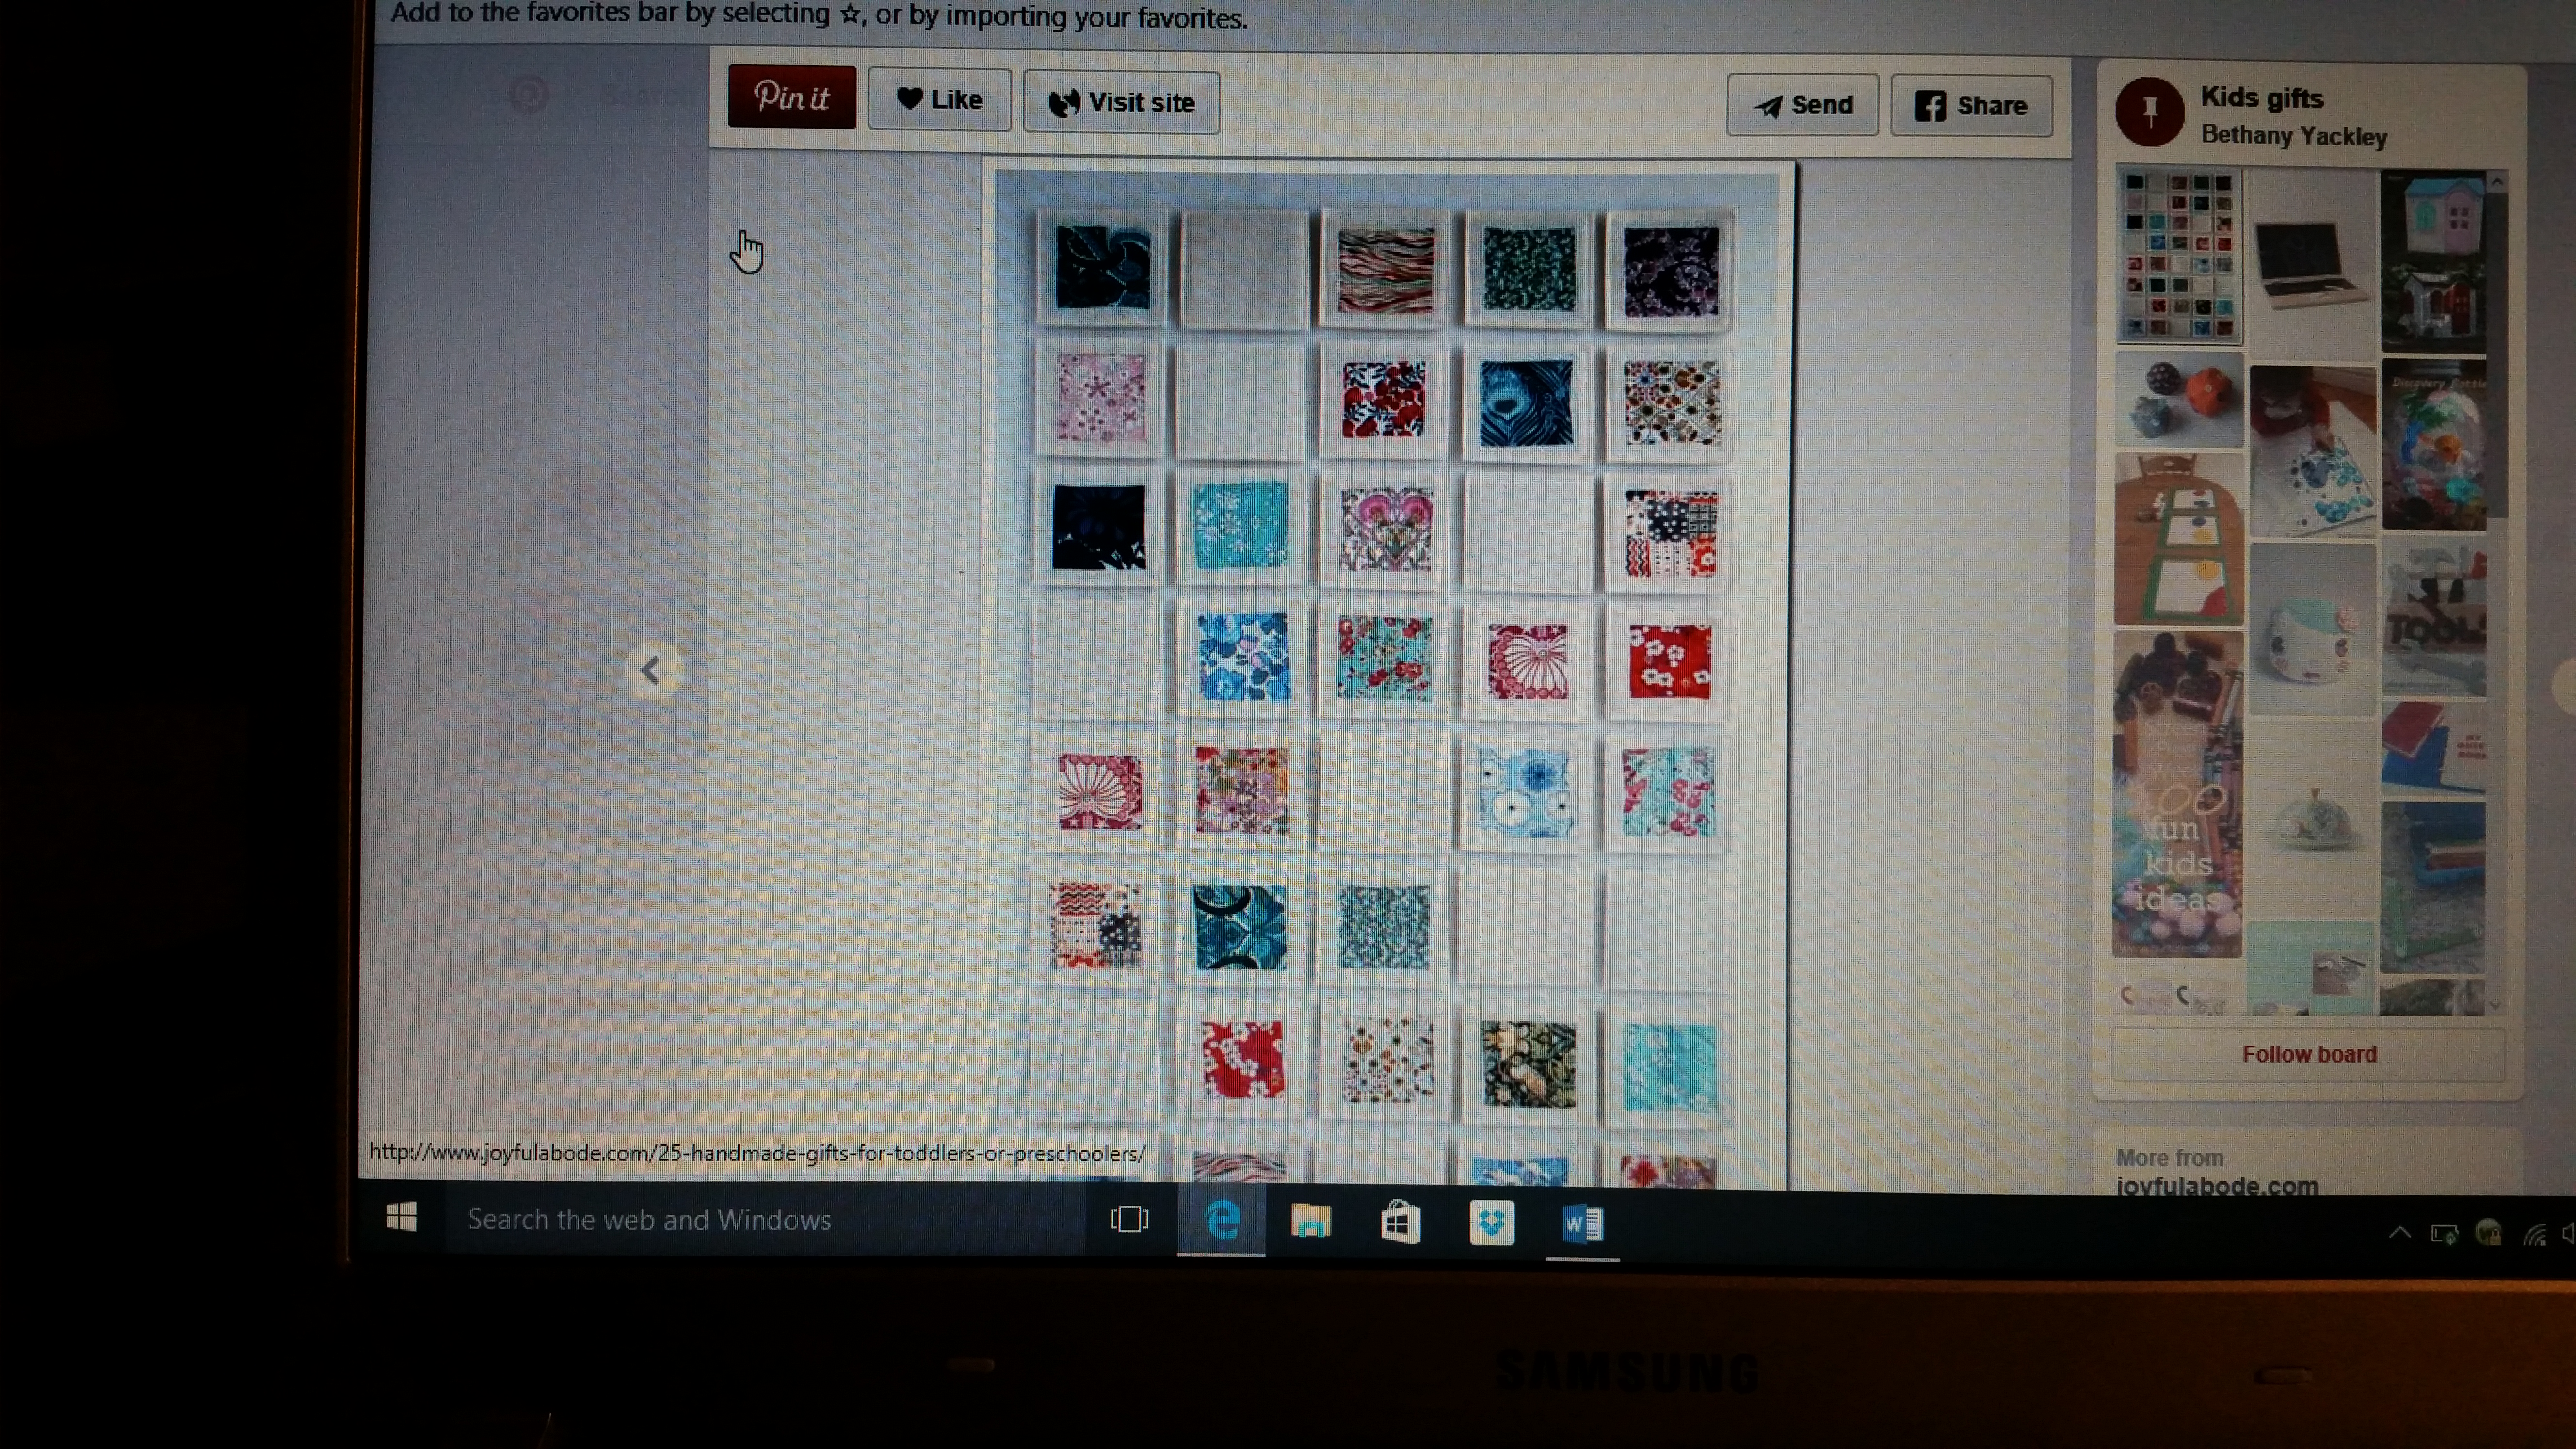
I saw a memory game on Pinterest. I read through the tutorial on the Purl Bee blog see above picture. But the tutorial uses very expensive fabrics and the top frame was one piece on the fabric “card” for this memory or concentration game. click on picture to make it bigger to see details. I could not get a link to the blog to work today from Pinterest. Being a quilter and having arthritis, I wondered if you could make them using quilting techniques that would be easier for me and less tedious overall. I also used white flannel vs. 100 % wool felt. I used fabric scraps on hand, too! In fact, I had all the materials on hand so this project cost me nothing but the few minutes to sew each card.
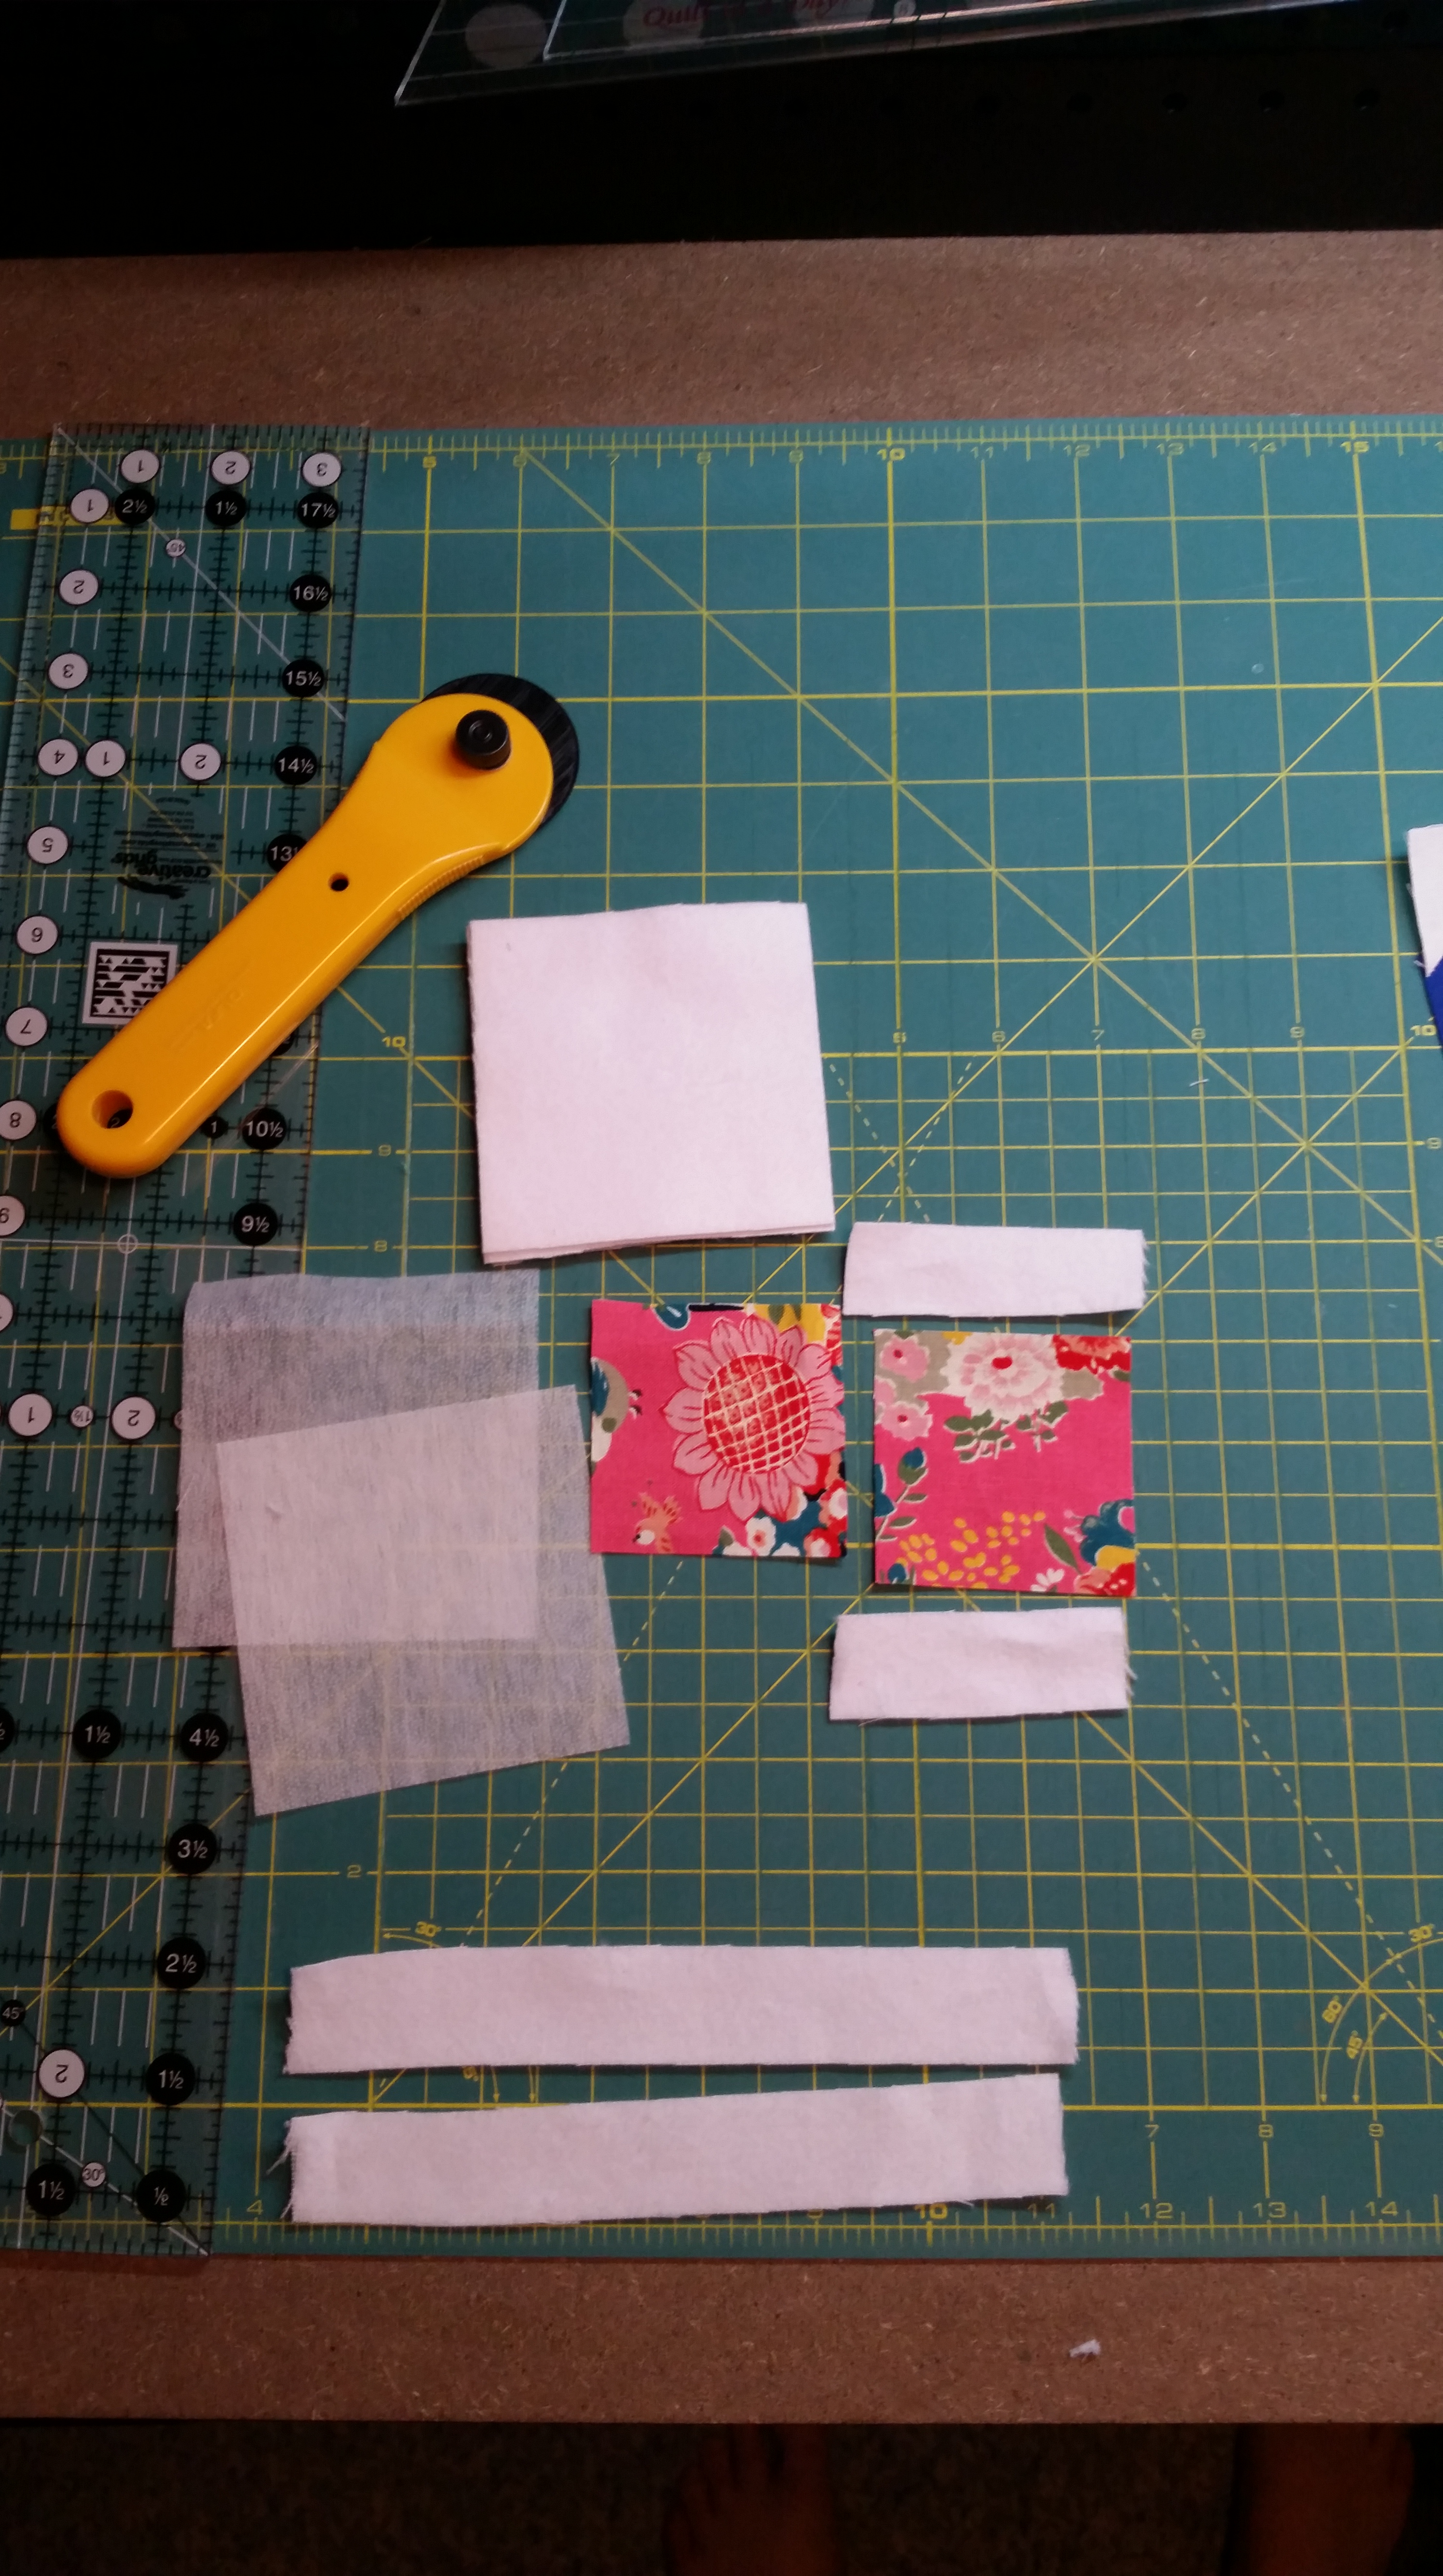
You will need pinking shears, rotary cutter and mat, fusible interfacing, fabric scraps and flannel.
I cut out 2 squares of the focus fabric for the game that is 2.5 inches. I cut one inch flannel strips to make a frame around the fabric card. They are cut too long and then squared up after sewing them. First add 2 shorter pieces to the top and bottom. Press. I use a 1/4″ seam allowance here.

Then add one inch strips to the longer side, again using a 1 /4″ seam allowance. My flannel is from a scrap piece too so I am not measuring them to an exact length to sew. I would rather them be too long and trimmed once sewed.
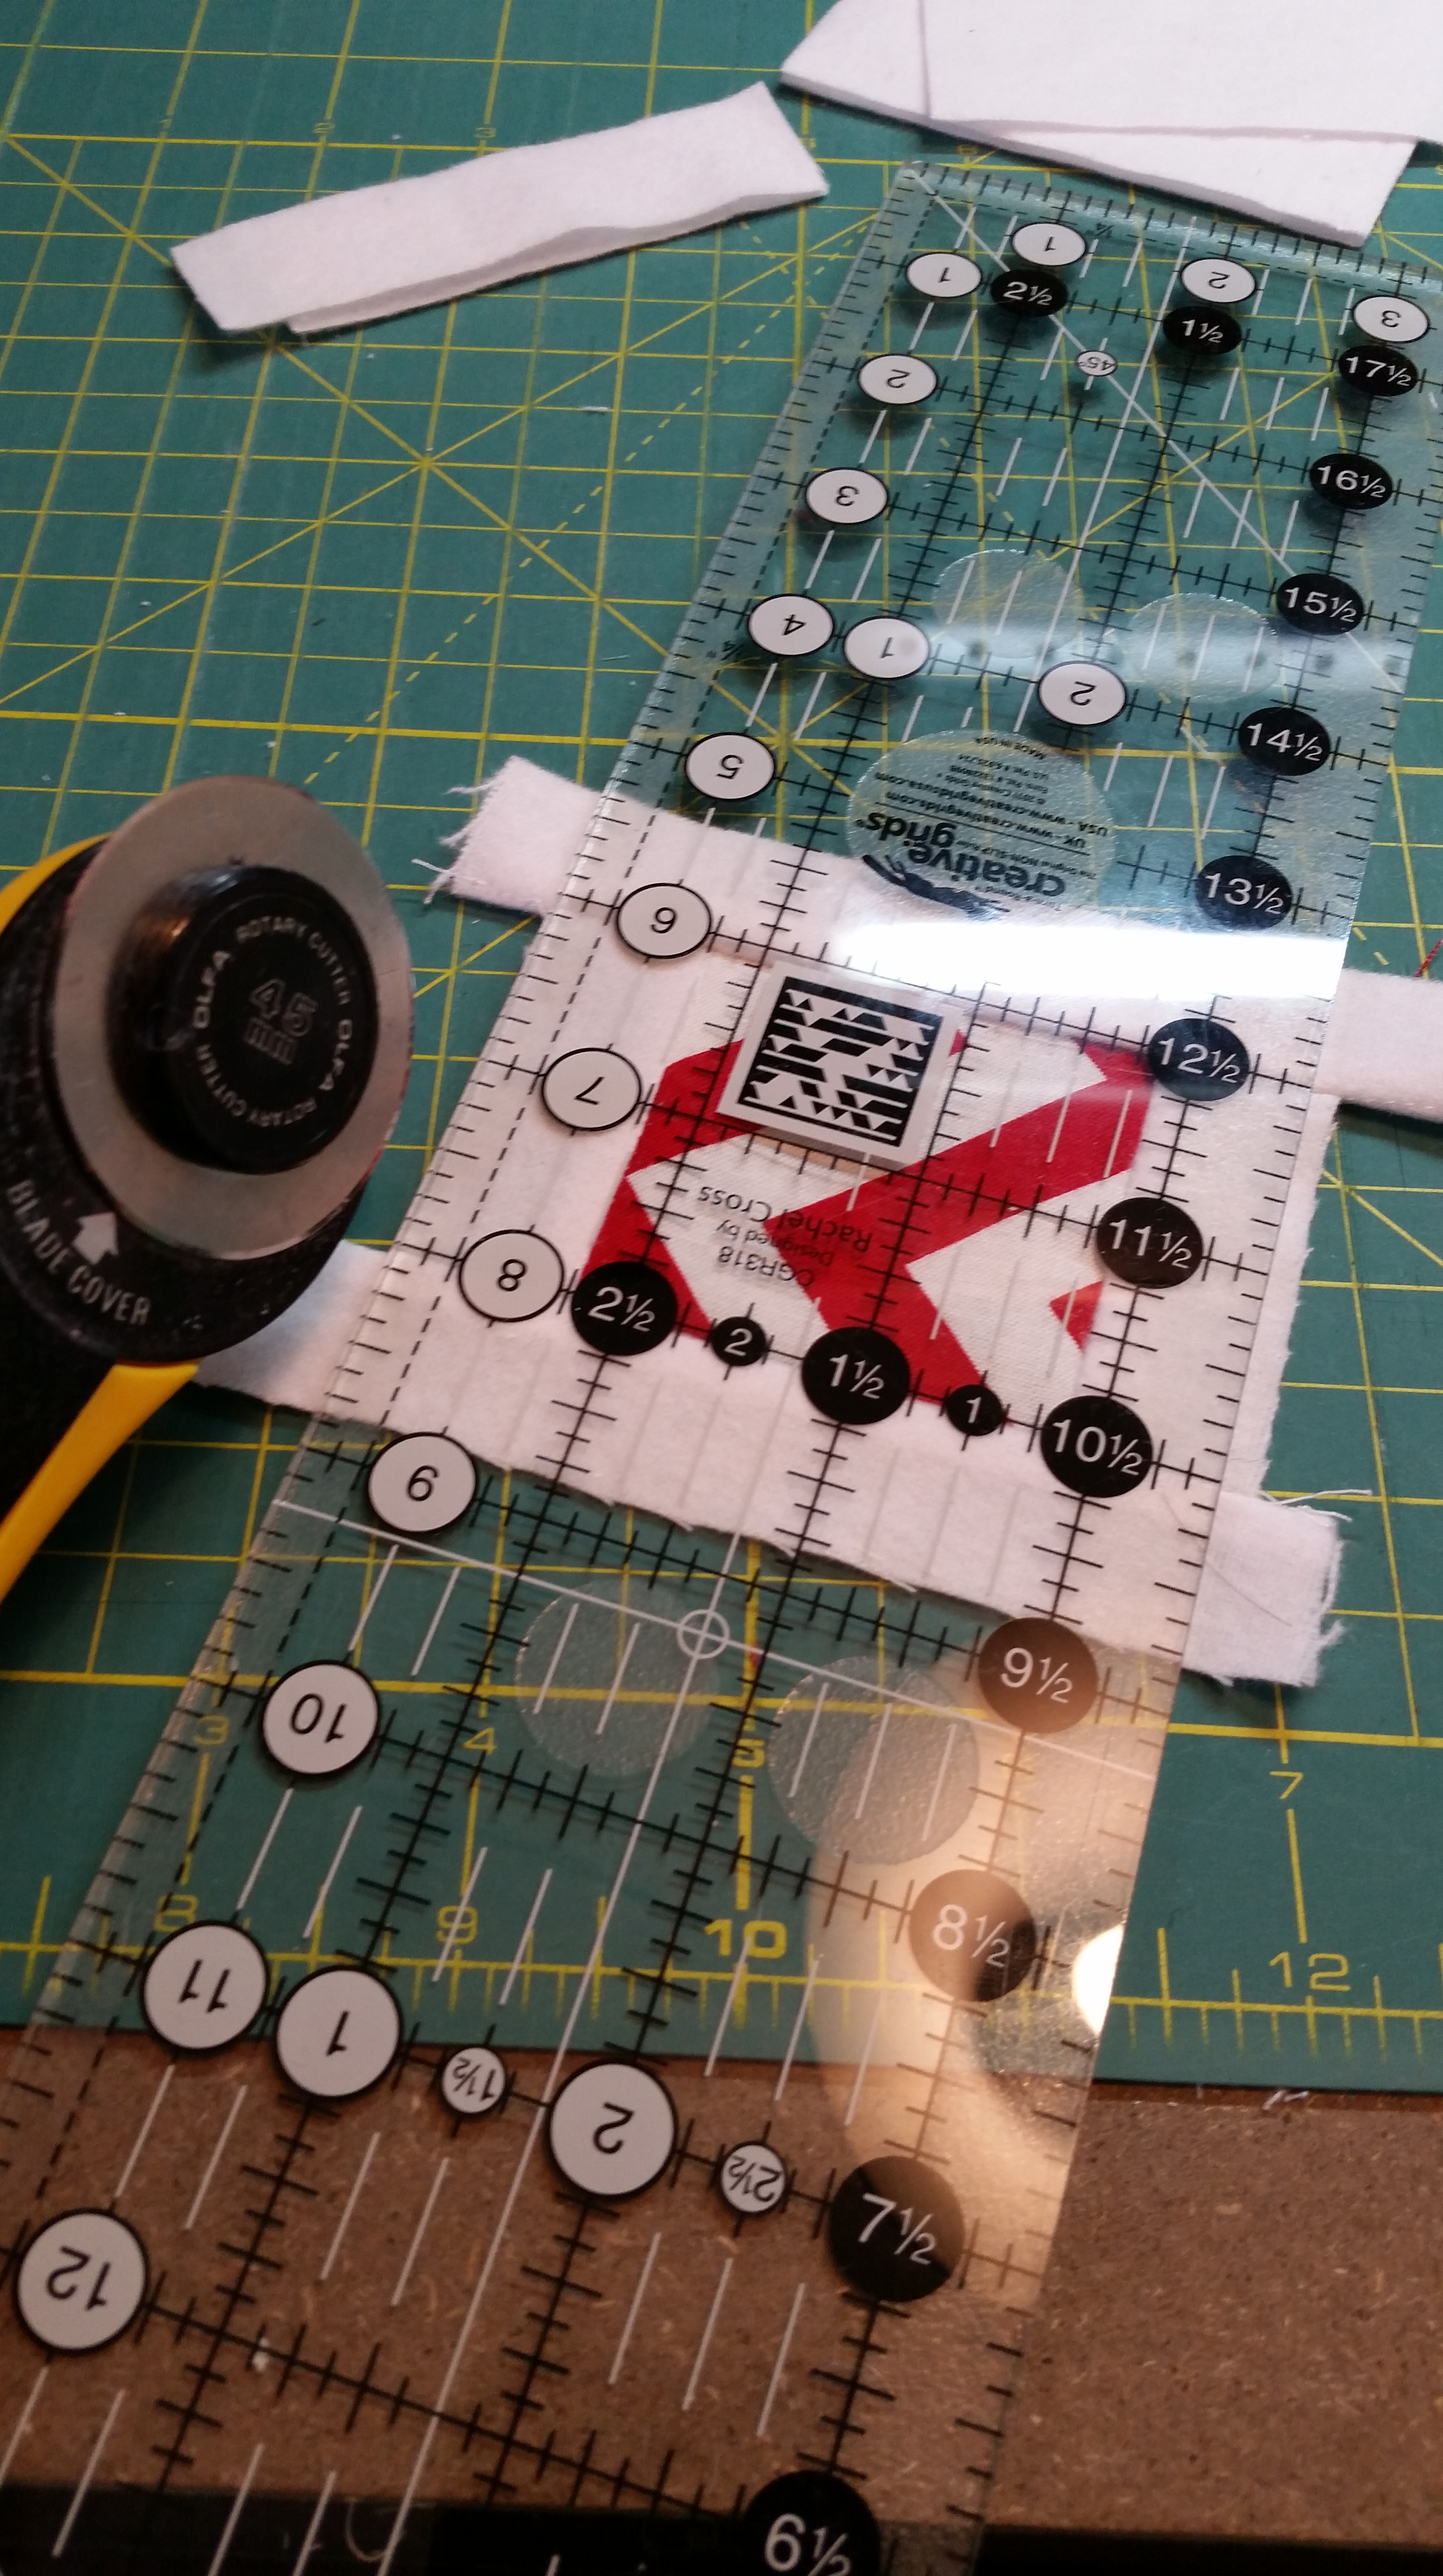 Pic of trimming the strips.
I have cut 3.5 inch flannel squares for the back. I also cut a stack of 3.5 inch squares from the interfacing. Following the interfacing directions, iron a square of interfacing to the back of the top with the fabric scrap square and then one to the flannel back. Be careful to put the bumpy or glue side to the back of the fabric. Don’t worry if you iron the glue…. just go get a used dryer sheet and iron it, took it off nicely when I goofed.
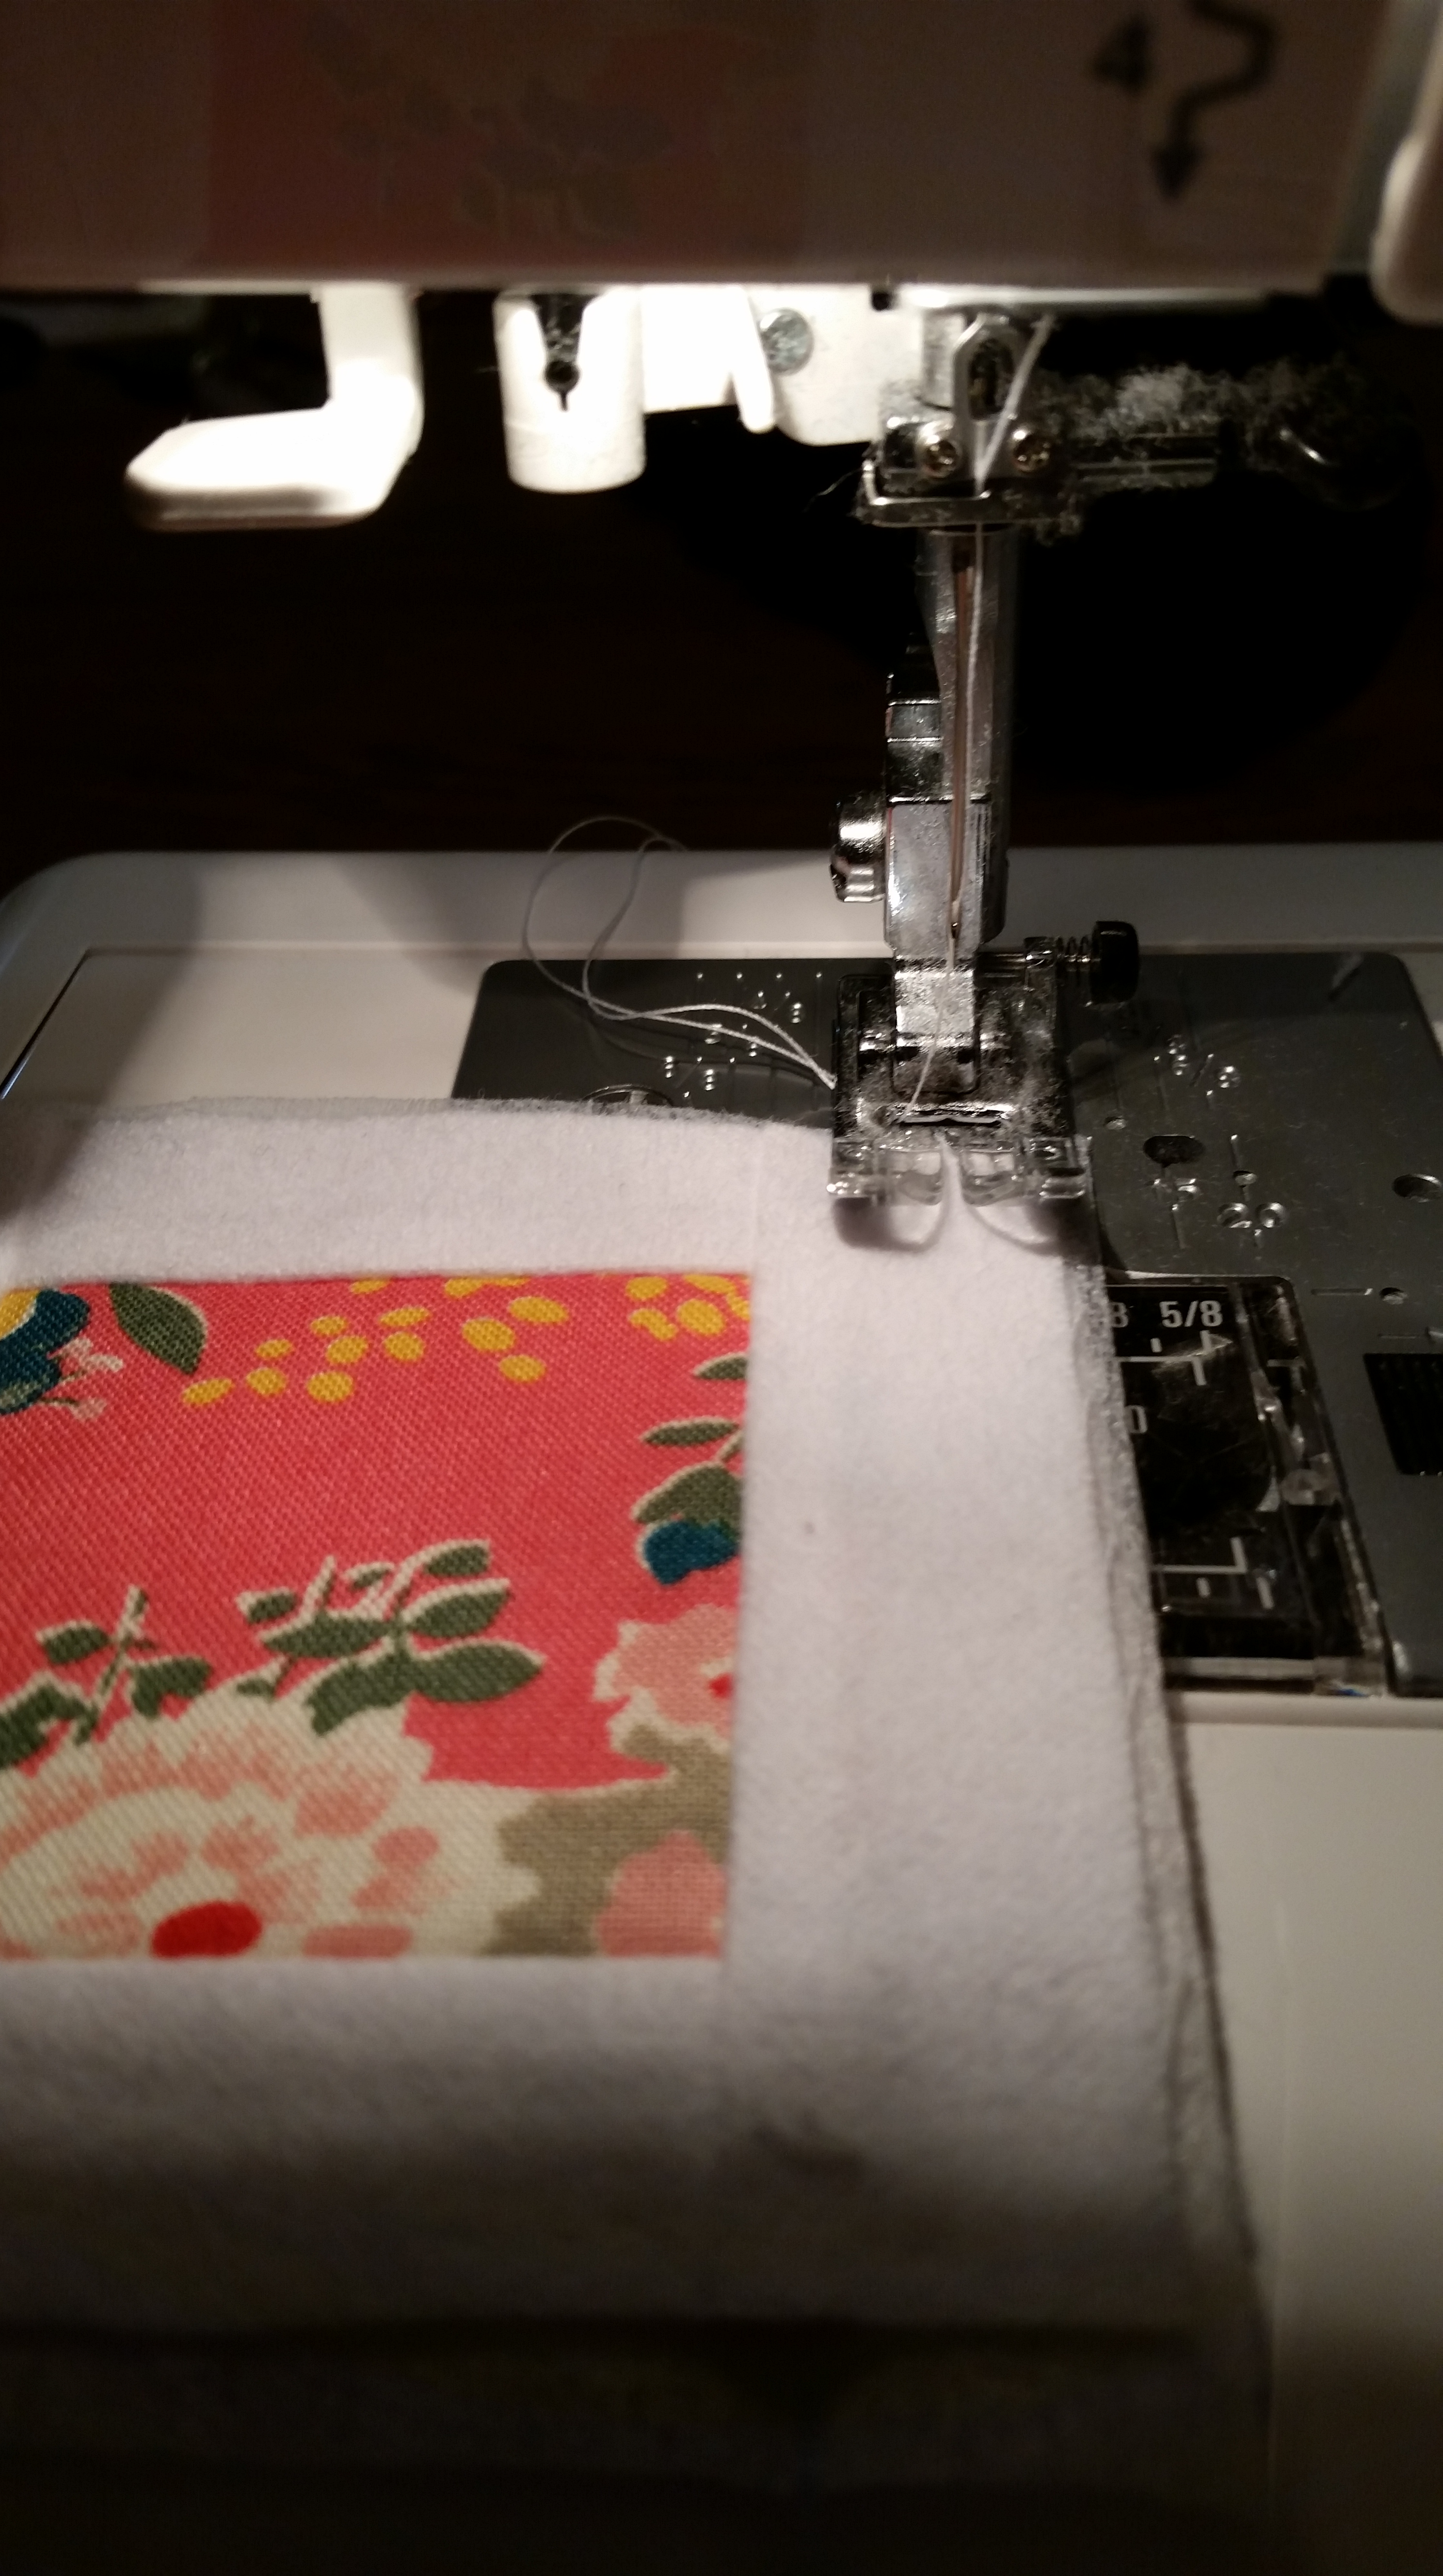
Place the top over the back, WRONG SIDES Together and top stitch 3/8″ seam allowance on all sides . That happens to be the width of my presser foot and that measurement is on my sewing machine and it says 3/8″.
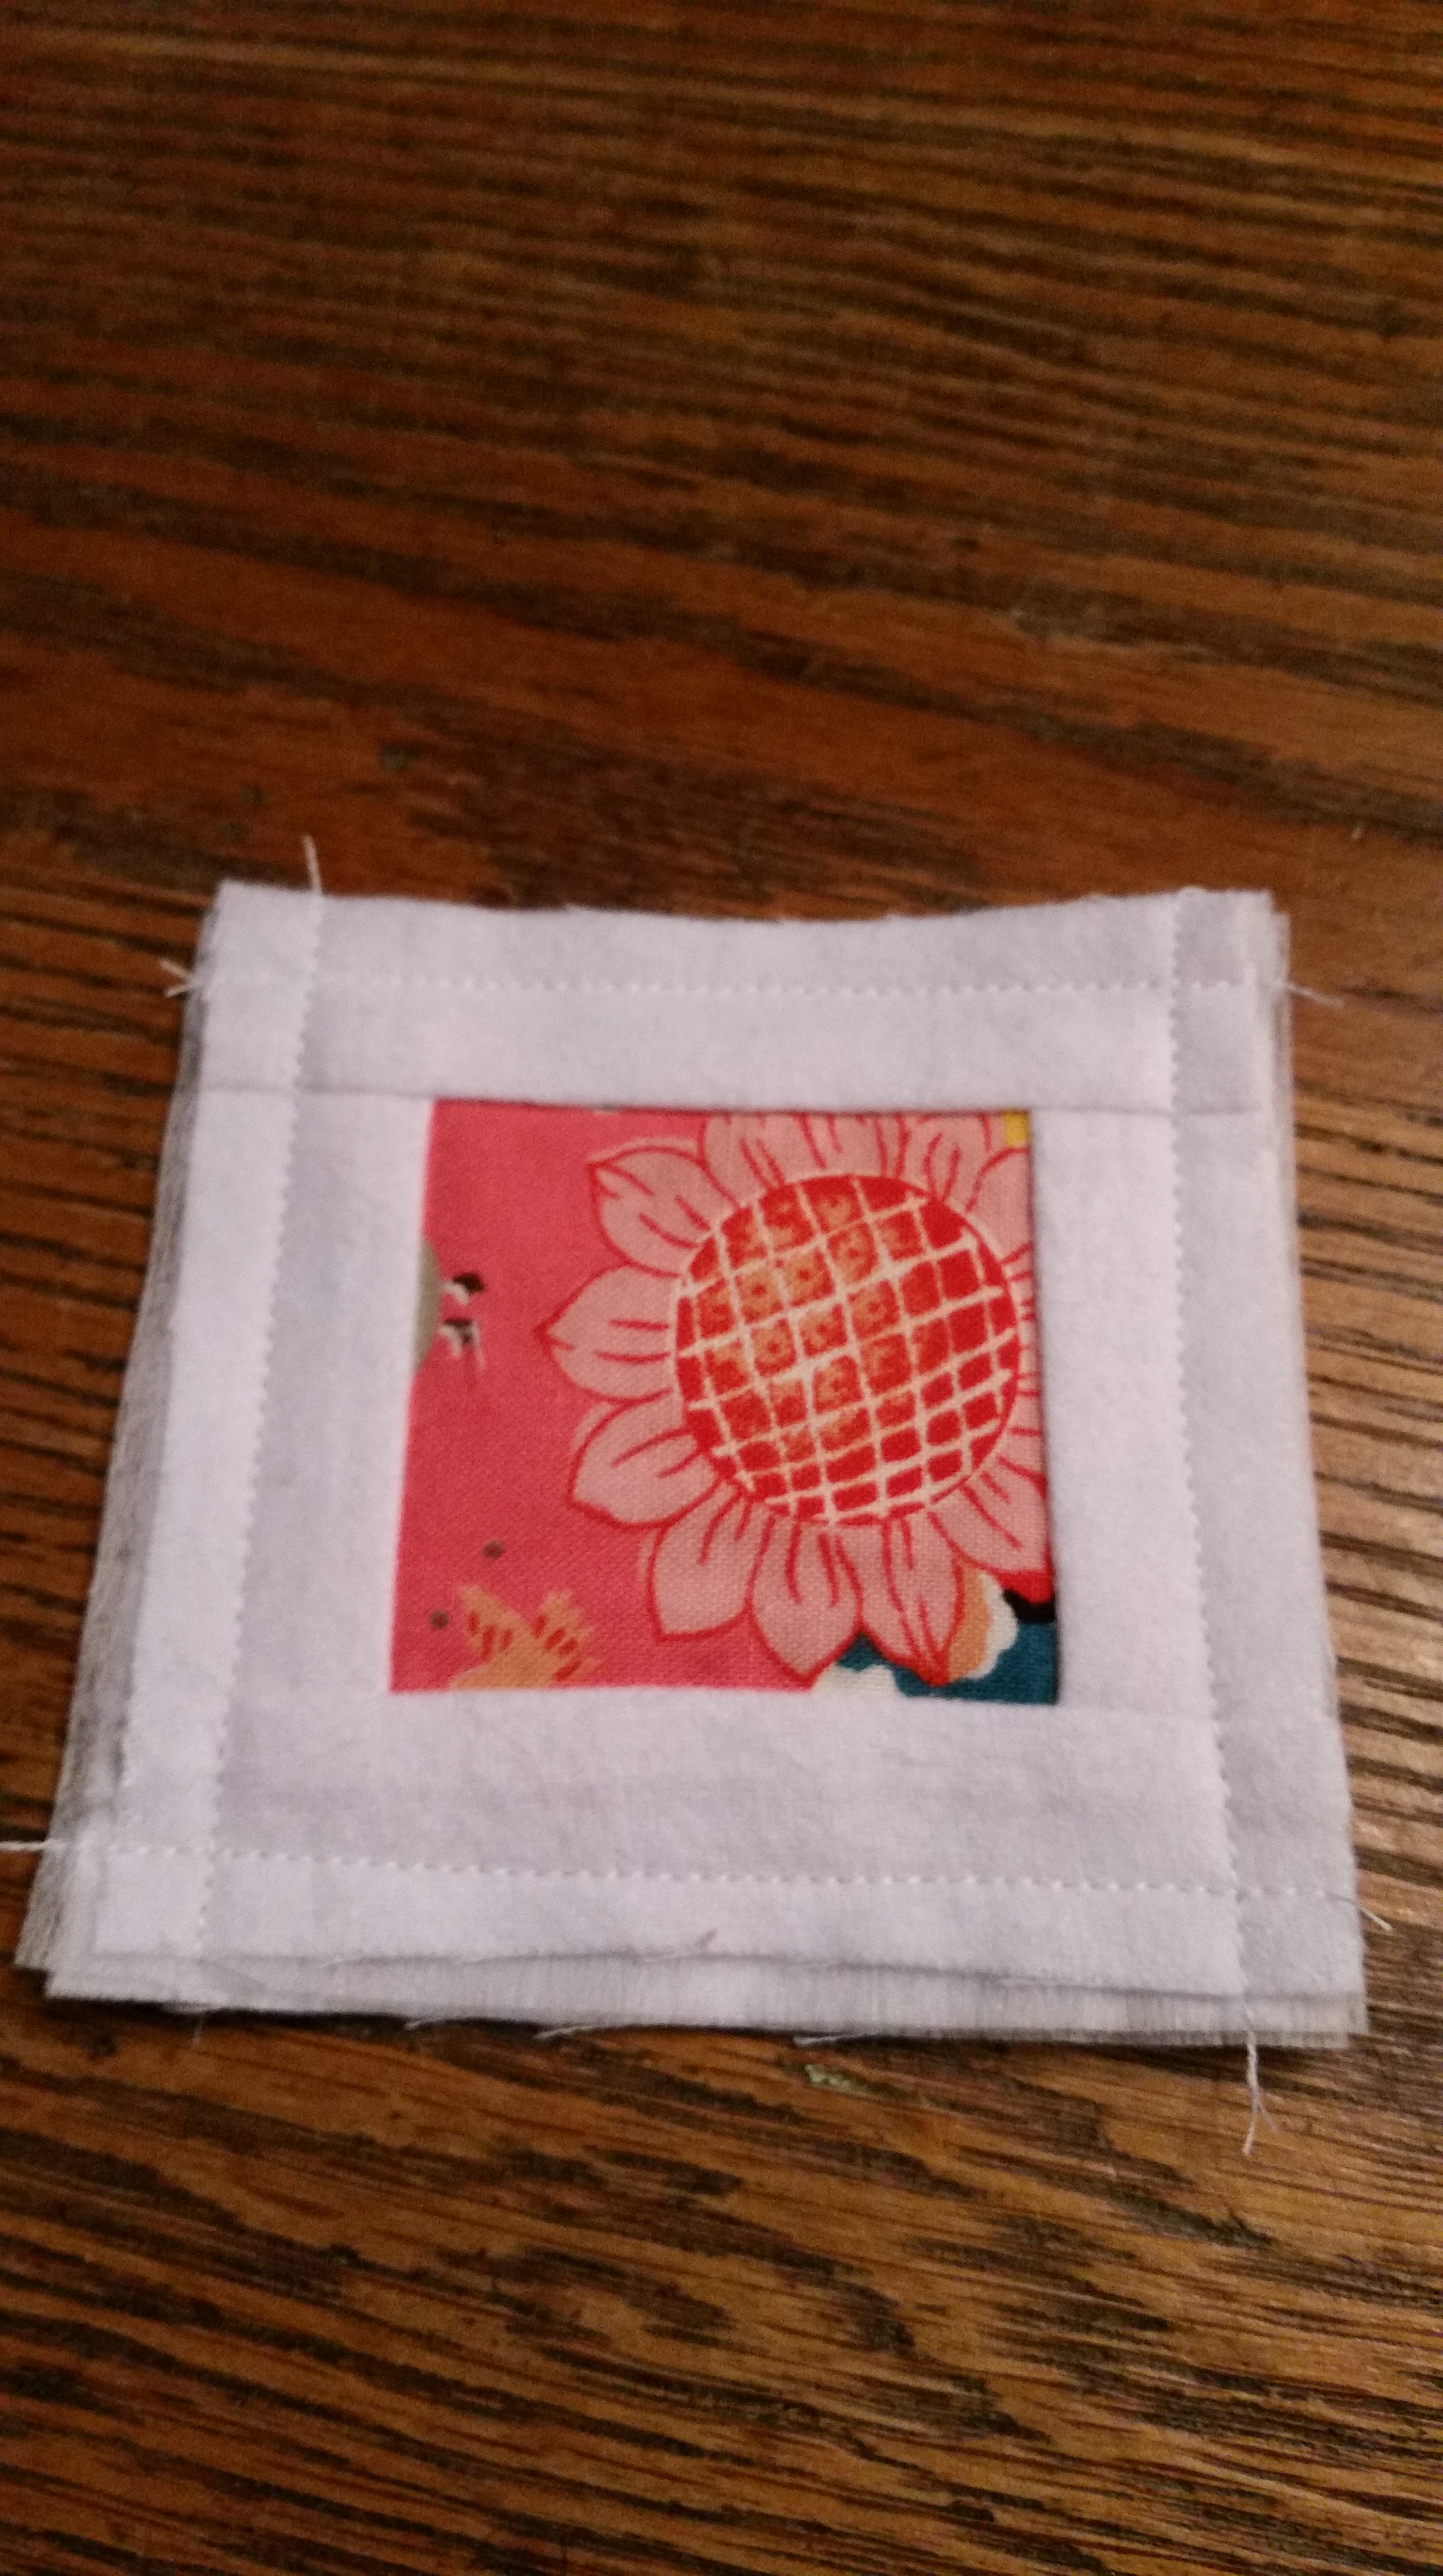
Here is what mine looked like after top stitching each side. Then I took pinking shears and trimmed the edges.

Here are the first four little square “cards” , I am going to make about a dozen pairs for the match game.
Do you remember playing this with a deck of cards? Mix up the cards and then place them face down, in rows. Take turns turning over 2 cards to find a pair. If you do make a match you get another turn, if not, the next player takes their turn. The fabric cards are intended for toddlers and it is a tool for learning colors, rules and memory training.
My tutorial is using much less expensive fabrics than the original post I saw. They used Liberty of London fabric at nearly 30$ a yard and 100% wool. I used cheap flannel left over from my design wall and scraps from my fabric stash. My version is still very cute, the cards are stiff and assembled in a faster, less tedious way.
Have fun making this little game!
